
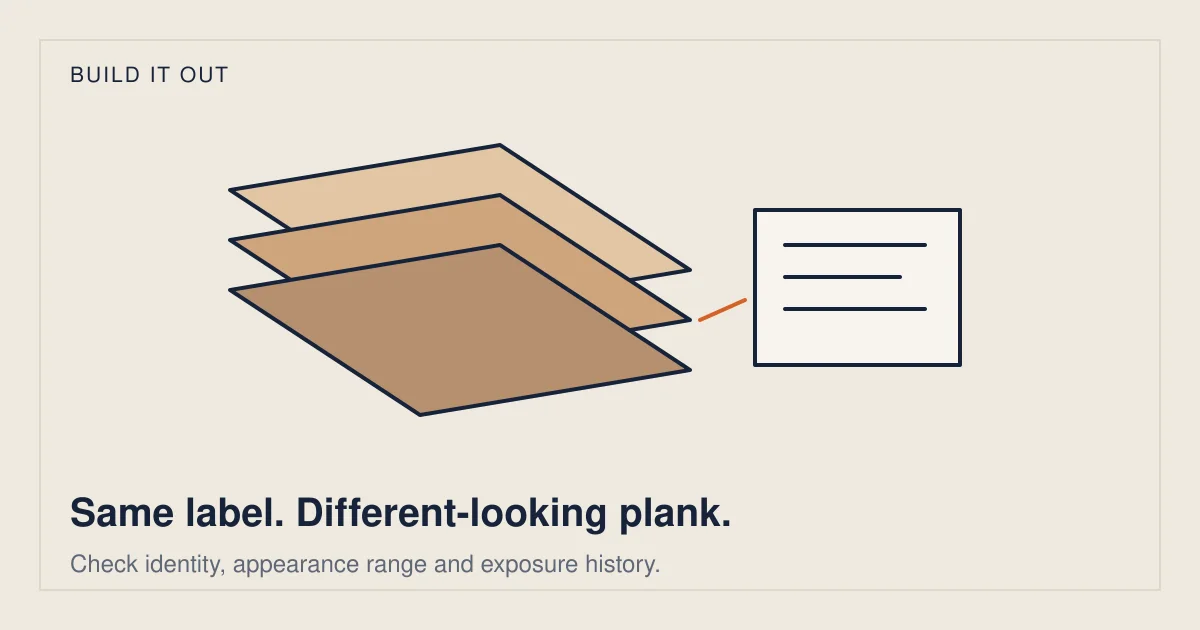
The spare box looks promising: same brand, same color name, perhaps even the original receipt. Yet the replacement plank looks different beside the installed floor. The mismatch may concern product identity, variation within the design, a different production run or the appearance of an exposed floor compared with stored material.
Before any board is cut or removed, separate physical compatibility from visual compatibility. Both need to be considered.
Start with the full identity, not the color name
Photograph the whole carton end label and any product markings. Record the original order information, manufacturer, collection, product code, nominal dimensions, construction, finish and available production identifiers. Preserve the old packaging rather than transferring boards into an unlabeled box.
Quick-Step’s laminate instructions explicitly distinguish formats, decors and qualities and recommend retaining end labels with the receipt. Karndean’s rigid-core guide identifies different locking systems through the box information. These examples show why a familiar name on the front of a package is not the complete identity.
Ask the manufacturer or supplying dealer to confirm compatibility with the existing installation. Do not force sample joints or treat a board that appears the same width as confirmed compatible. A replacement plan may require details unavailable from the top surface alone.
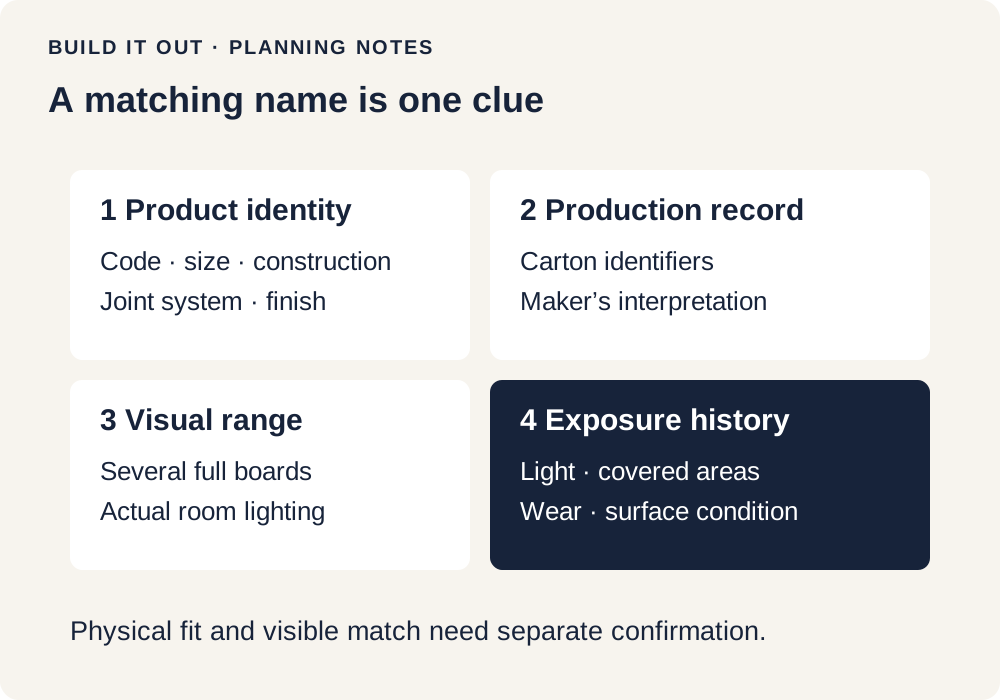
Then separate four visual questions
| Question | What to record |
|---|---|
| Same specified product? | Full product identity and manufacturer confirmation |
| Same production information? | Available batch/run identifiers on original and replacement cartons |
| Within the expected appearance range? | Several full boards, not one small corner or screen image |
| Comparable exposure and surface condition? | Installed location, light, protected areas, wear and approved cleaning history |
Tarkett’s NuGen manual calls for cartons with matching batch numbers. Chelsea Plank’s technical information explains that different lumber lots can contain different distributions of color and character. Do not interpret every manufacturer’s production code yourself: ask what the identifiers mean for the specific product.
Batch matching is useful evidence, but a single board still need not look exactly like its neighbors. Natural wood has board-to-board variation. Printed products can also include deliberately different plank patterns.
One spare board can exaggerate the contrast
CALI’s Plus WPC instructions describe multiple patterns within a product and mixing cartons for appearance. The Mannington ADURA Rigid guide likewise calls for variation across cartons. A repair concentrated in one spot can expose a contrast that was less noticeable when similar tones were distributed across the room.
For wood, Allwood’s inspection guidance discusses racking boards to distribute natural color and grain. Bruce’s solid-wood instructions also call for boards selected across cartons. These are reasons to compare the available selection before committing a particular board to the repair—not instructions to mix incompatible products.
Ask the professional to show several candidate boards next to the repair area under ordinary room lighting. View the same direction and angle each time. Phone cameras and display settings can alter apparent color, so keep photographs as a record rather than the sole acceptance test.
The installed floor has its own history
A carton stored out of light has not had the same exposure as the floor beneath a sunny window. Somerset’s installation guidance notes that uncovered areas may change color when other areas are protected. Chelsea Plank’s technical/warranty information also identifies sunlight and furniture-related shadowing as appearance considerations.
Mullican’s solid-wood manual warns that sample boards may darken with time or vary with natural wood characteristics. A showroom sample, a stored spare and an installed plank are therefore different comparison objects.
This does not establish the cause of every mismatch, and it does not promise that a new board will “catch up.” Record the location, daylight conditions and any protected neighboring area. Ask the maker to assess whether the observed change is consistent with that product before deciding on the extent of repair.
A useful sample check before permanent work
- Confirm identity first. Send label photographs and order details to the maker or dealer.
- Confirm the physical repair plan. Have the flooring professional verify the applicable joint, dimensions and installation method.
- Compare several acceptable boards. Look for the best permitted candidate across the supplied appearance range.
- Record the viewing conditions. Use the actual room, ordinary daylight and usual artificial lighting.
- Agree on the visible outcome. Ask whether a single-board change, larger repair area or another approved approach gives a realistic result.
Keep approval of product compatibility separate from approval of the visual sample. A mechanically compatible board may still look conspicuous. A visually close board may still be unsuitable for the existing floor.
What to save after the original project
Retain labeled spare material according to the manufacturer’s storage conditions, along with the receipt, product instructions and carton-label photographs. Record the room and installation date. If spare boards have been damaged, stored in unsuitable conditions or lost their identity, disclose that before repair planning.
Keeping spares can improve the options available later. It cannot guarantee a perfect visual match after years of exposure or establish that every leftover piece is usable. The value is a traceable starting point for a qualified repair decision.
Sources and method
We inspected these ten independent manufacturer, technical or service resources on October 25, 2026. Product examples explain why requirements differ; use the current US instructions for the exact product being supplied. Worksheets and illustrative calculations are Build It Out editorial tools, not field tests or professional certification.
- Quick-Step: Laminate LMP Hydroseal HB installation instructions
- Karndean: Rigid Core – Plank and Tile installation guidelines
- Tarkett Home: NuGen Click Installation Instructions
- Chelsea Plank Flooring: Technical Information
- CALI: Plus WPC Vinyl Flooring Installation
- Mannington: ADURA Rigid installation guidelines
- Allwood: Flooring Installation Instructions
- Bruce: 3/4-inch Solid Wood Flooring Installation Instructions
- Somerset Hardwood Flooring: SolidPlus engineered installation guidelines
- Mullican Flooring: Solid Wood Flooring Installation