
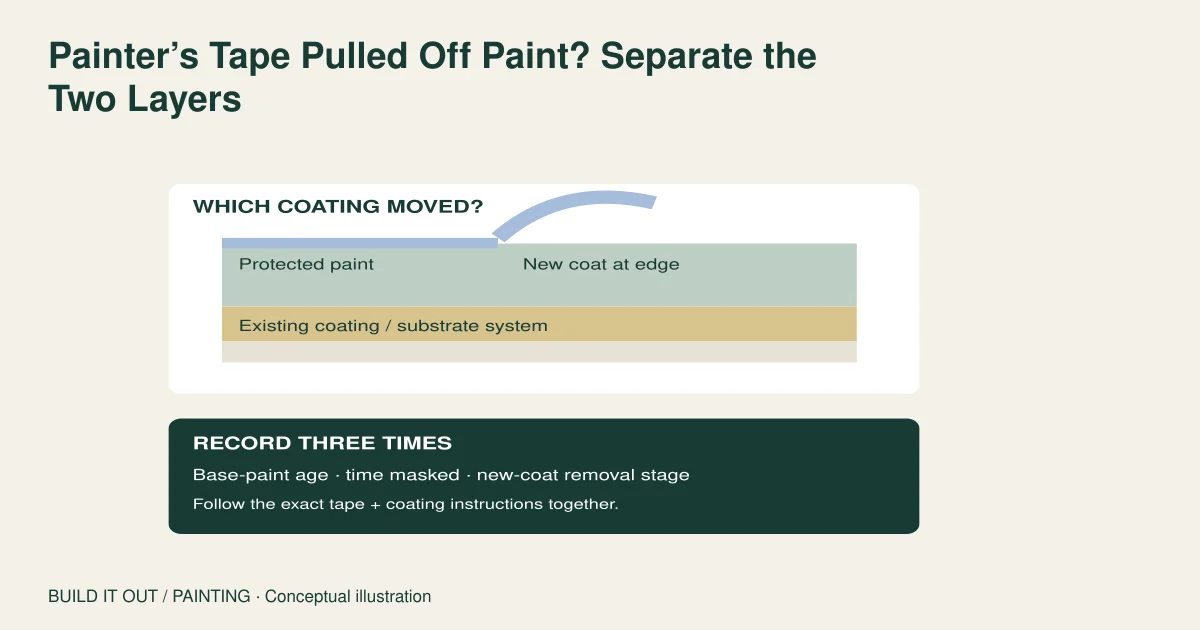
Stop and identify what the tape removed. Paint torn along the newly painted edge is different from a patch of the older coating lifting underneath the tape. Record the tape product, the age of the protected paint and when the new coat was applied. Do not solve every failure by pulling harder or automatically waiting longer.
The border looked neat until the tape came off with a strip of paint. There are several possible issues: the tape may not suit the protected surface, the base coating may still be developing, or the new paint may have bridged the edge. FrogTape’s fresh-paint guidance warns that a finish can remain vulnerable even when it feels dry. One photograph rarely establishes which mechanism is responsible.
There are two painted surfaces in this decision
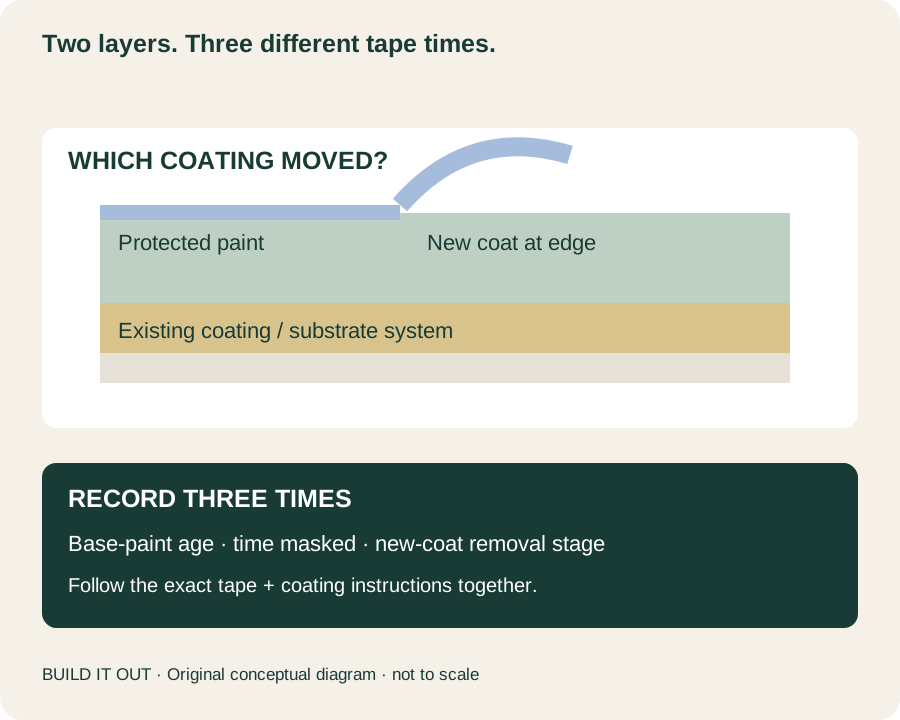
First, identify the protected surface that the tape sticks to. Then identify the new coat painted beside or across the tape’s edge. The age and suitability of the first surface govern whether masking is appropriate; the second coat affects the edge-removal step. Mixing those questions produces contradictory advice such as “wait until cured” and “remove while wet.” They may concern different layers.
| What you see | Question to investigate | Record before repair |
|---|---|---|
| A patch lifts beneath the tape | Was the protected coating suitable and ready for this adhesive? | Base-paint product, final-coat date and tape model |
| The fresh edge tears with the tape | Did the new coating bridge or harden along that edge? | Coat timing, buildup and removal instructions followed |
| New color leaks below the tape | Was the masking seal appropriate to the texture? | Surface texture, tape suitability and application |
| Paper, filler or several old layers lift | Does the underlying surface need assessment? | Photographs, known coating history and extent |
This worksheet organizes observations; it is not an adhesion test. Do not deliberately pull off more coating to find the “weak layer.”
Write down the three tape times
- Before masking: how old is the paint the adhesive will touch, and does the selected tape permit that use?
- While masked: what is the tape’s stated surface/time limit under the actual conditions?
- After the new coat: when and how should that tape be removed for the coating being applied?
3M’s Delicate Surface 2080 product page, for example, identifies fresh paint at least 24 hours old and a separate clean-removal window. Those are tape-product conditions; they do not say every wall paint has fully cured in 24 hours. Dunn-Edwards’ technical bulletin explains why touch dryness and cure are different stages affected by conditions.
A long clean-removal rating is not a recommendation to leave a painted edge until the last permitted day. JTAPE separately discusses masking fresh paint and removal after painting. Keep those instructions with the job record rather than writing just “14-day tape” on a shopping list.
Why manufacturers disagree about wet or dry removal
Behr’s masking guide describes removal while the new paint is wet. FrogTape’s cited page says slightly wet. 3M’s FAQ, linked below, describes touch-dry removal. tesa’s specialist masking manual, page 7, discusses a suitable removal window and the effects of conditions. These directions should not be blended into a universal number of minutes.
Follow the actual tape and coating instructions together. If the timing or compatibility is unclear, ask the makers or painter before masking a prominent finished wall. Do a limited inconspicuous suitability test as directed; a successful test reduces uncertainty but cannot guarantee every part of a large wall behaves identically.
Low-tack tape cannot strengthen a weak coating underneath
Sherwin-Williams identifies preparation, adhesion and coating compatibility among paint-failure considerations. If the underlying coat or wall surface is failing, changing tape may not address the cause. Dulux’s preparation guidance likewise treats the underlying surface and appropriate undercoat as part of the painting system.
Bleeding also differs from lifting. Benjamin Moore’s tape troubleshooting section addresses both, including excessive paint at the tape edge. Preserve that distinction when describing the problem to the painter. “Tape failed” leaves out useful information about what actually changed.
When to pause instead of experimenting
If removal is lifting a broad patch, exposing wall material or tearing several coating layers, stop and seek product-specific advice. Do not add heat, solvents, a blade or aggressive scraping based on an unrelated tip. This guide deliberately does not cover cutting a painted tape edge or repairing hazardous/unknown coatings.
For a pre-1978 US home, EPA recommends a lead-safe certified contractor when renovation could disturb lead-based paint. Establish that issue before proceeding with coating removal or surface repair.
A better plan for the next border
Keep a photograph of the tape label, the protected paint label, the final-coat date and the instructions selected for the next coat. Note any hidden test and its result. Ask the painter to confirm whether the existing damage needs preparation before retaping. The useful outcome is a compatible system and a clear sequence—not a promise that one tape color or one waiting period prevents every lifted edge.
Additional inspected guidance: 3M tape FAQ and Shurtape on clean-removal time. These share origins with the 3M/FrogTape entries and are not counted as extra independent research sources.
Sources and method
Prepared by Build It Out from the primary and specialist resources below; checked October 25, 2026. The decision aid and artwork are editorial synthesis, not a field test or professional inspection. Product examples retain their own scope; follow the current instructions for the exact US product being used.
- 3M Scotch: Delicate Surface Painter’s Tape 2080 and tape FAQ
- FrogTape / Shurtape: How to Mask Fresh Paint with Delicate Surface Tape
- tesa: Practical Tips for Professional Masking
- JTAPE: Everything You Need to Know About Painter’s Tape
- Behr: How to apply and remove painter’s tape
- Benjamin Moore: How to Fix Common Painting Mistakes: tape section
- Sherwin-Williams: How to Fix Flaking, Cracking, and Peeling Paint
- Dulux Australia: Prepare interior surfaces
- Dunn-Edwards: Dry Time Versus Cure Time Of Paint technical bulletin
- US EPA: Lead-Safe Renovations for DIYers
- 3M Scotch: Painter’s Tape FAQ
- FrogTape / Shurtape: The Importance of Clean Removal Time